Have you seen those beautiful rope baskets at the high-end stores, they are amazing but so pricey? You can now have one for 1/3 or less of the cost of a store-bought one. Here are some easy steps for making a rope basket.
You can make a rope basket from a clothesline for less than one-third of the cost of a new one and just a bit of your time. It’s very simple and so rewarding.
This post may contain affiliate links which means I may make a small commission at no extra cost to you.
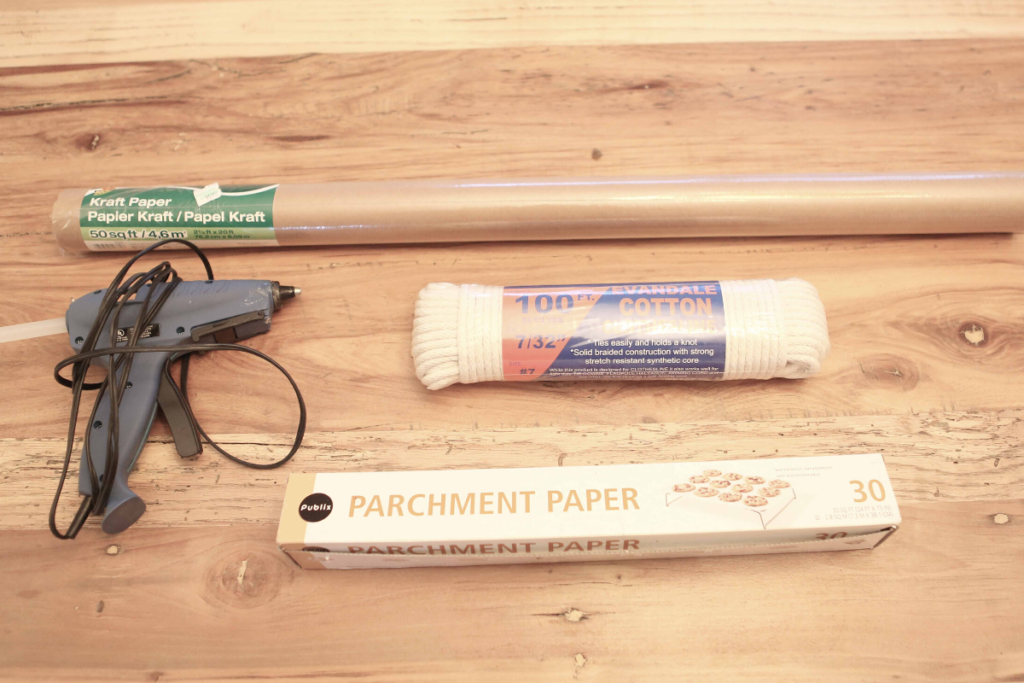
These are the supplies you’ll need:
Supplies
Glue Gun
Craft Paper
Parchment Paper
Approximately 130 feet of 100% Cotton Clothesline -You can buy here
Bucket for your template
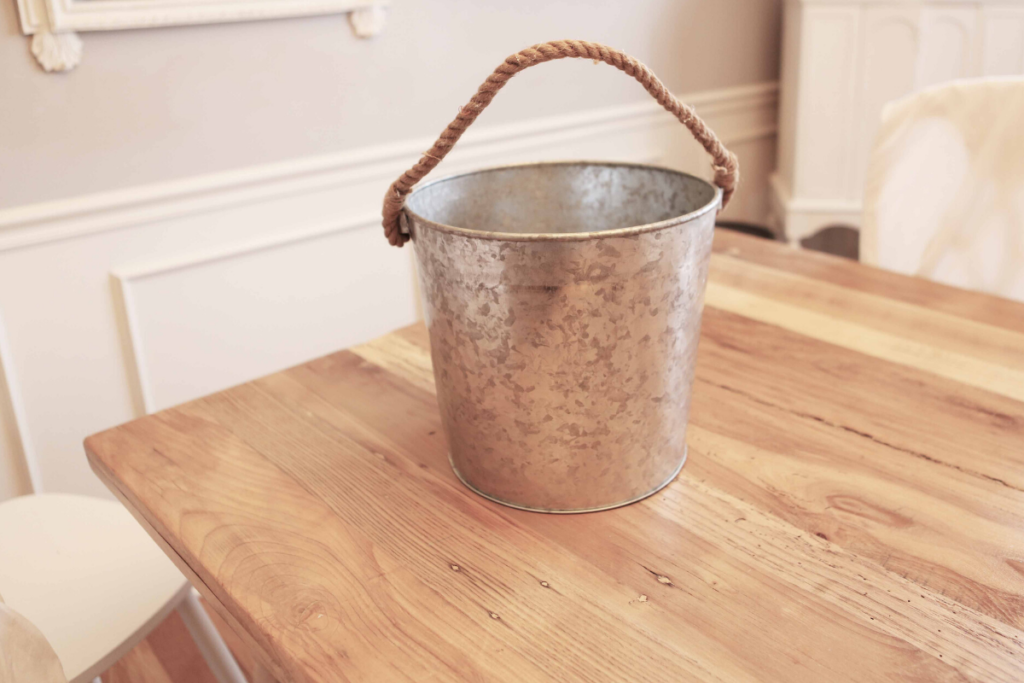
Below is the bucket that I used. I only had this bucket and it wasn’t ideal because of the rope handles. So, I had to make my rope basket a little shorter. It worked out well in the end.
Step One
You are ready to get started. Start out by covering your work surface with craft paper. You don’t have to do this but, I find it easier to clean up. Glue can be messy and you do not want to mess up the surface underneath.
Step Two
Cover your pail with the parchment paper. I found this to be a little difficult since the regular tape will not stick to the parchment. I had to use packing tape. This will act as a barrier to the pail and avoids gluing the rope to the pail. I failed to get a picture of this but use your imagination and there is no right or wrong way of doing this.
Step Three
Begin by wrapping the rope tightly in a circle. I started by gluing the end in a coil. It will look like this. Make this circle the size of the bottom of the pail, you will measure often. I went one rope length wider so I could glue underneath.
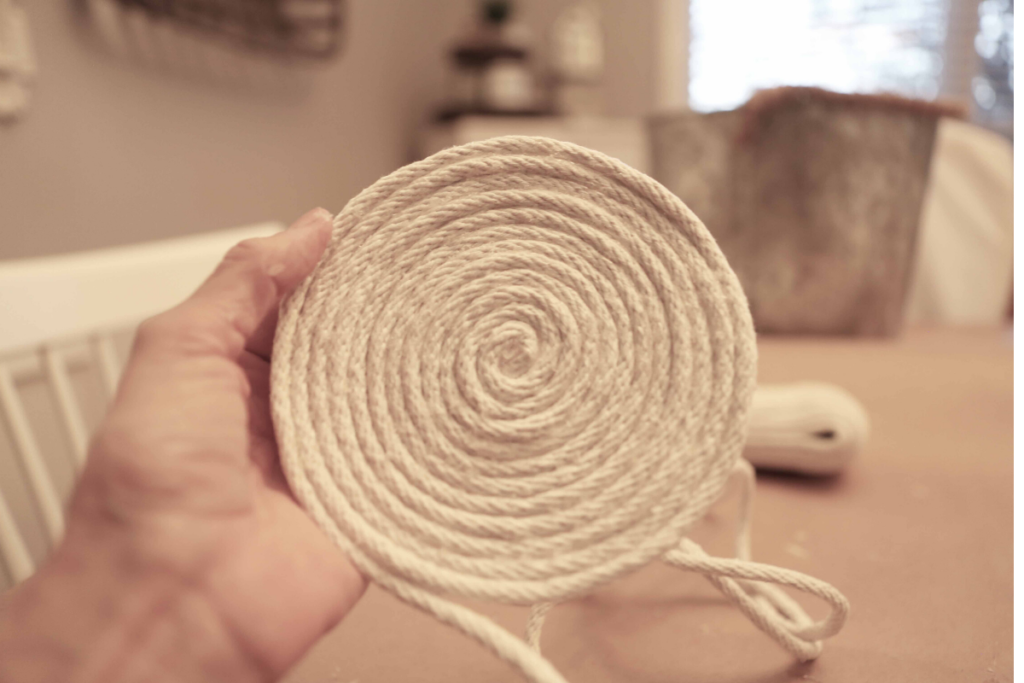
The completed circle will look like this.
Step Four
Now, its time to start wrapping your pail with the rope. You will need to glue often. I glued every section of the rope, pressed into place and squeeze the entire pail tightly after every row.
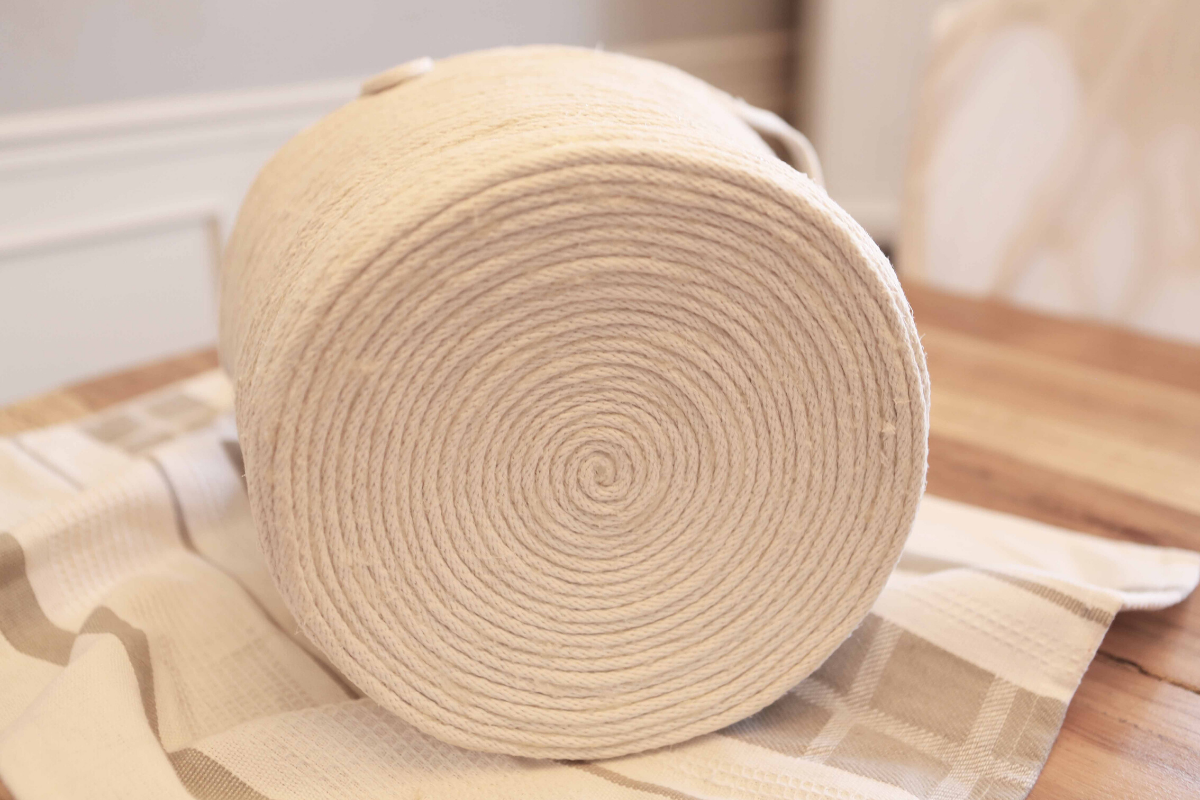
Step Five
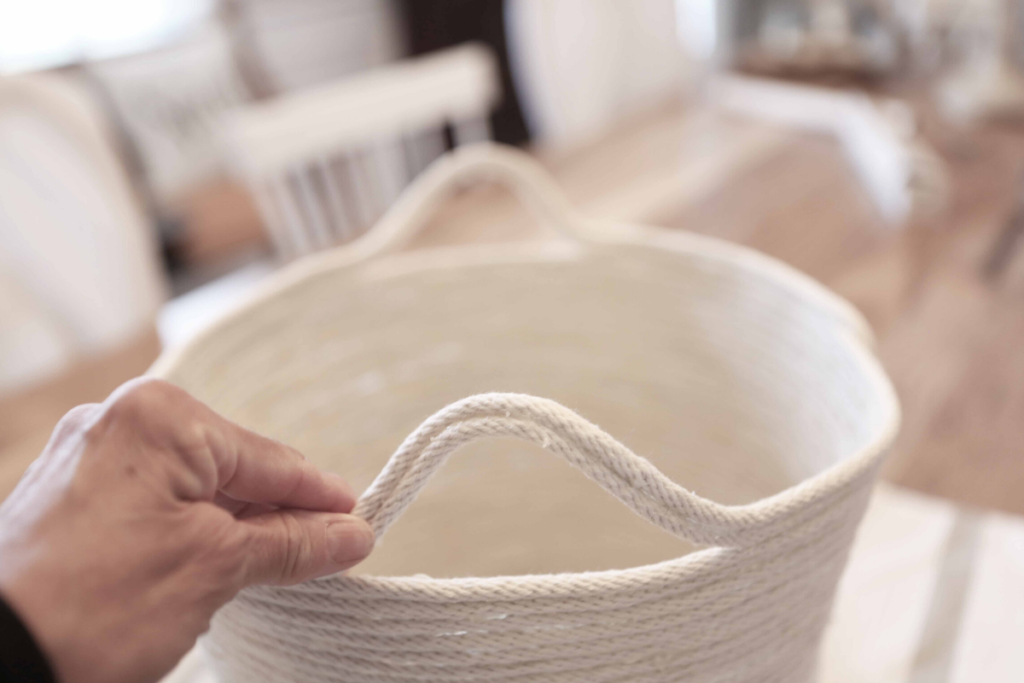
Once you have decided how tall you want your basket, you can add handles by measuring 7 inches of rope that you do not glue. It will look like this. I did a double-strand handle, to make it sturdier.
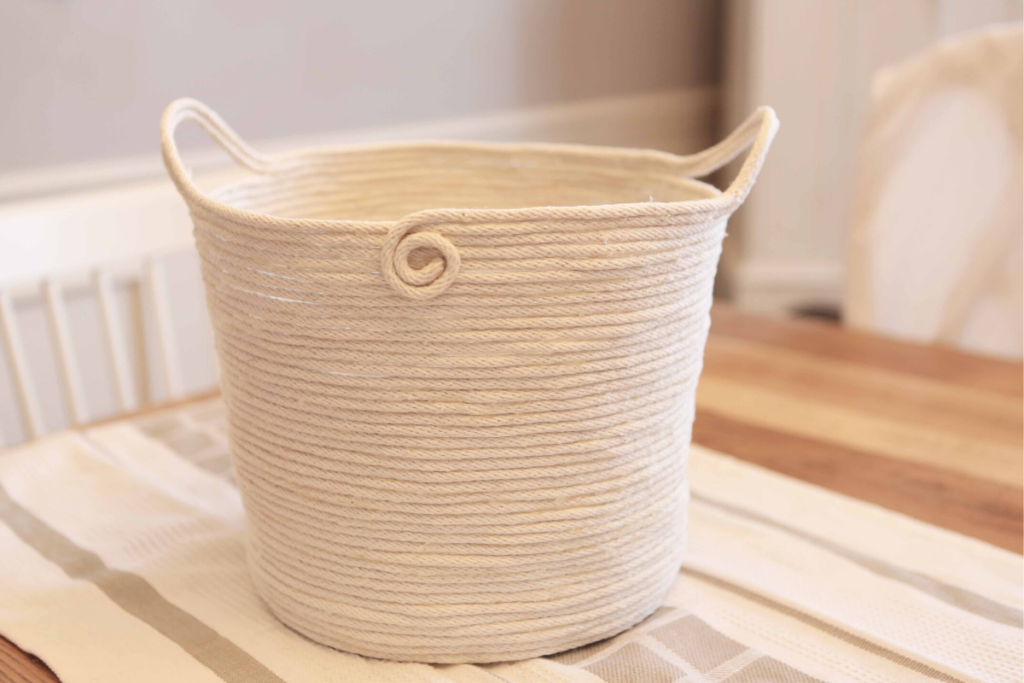
All Done! This is what your basket will look like.
There are many uses for this basket, I decided to use mine in my sewing room, to place my current project fabrics together. 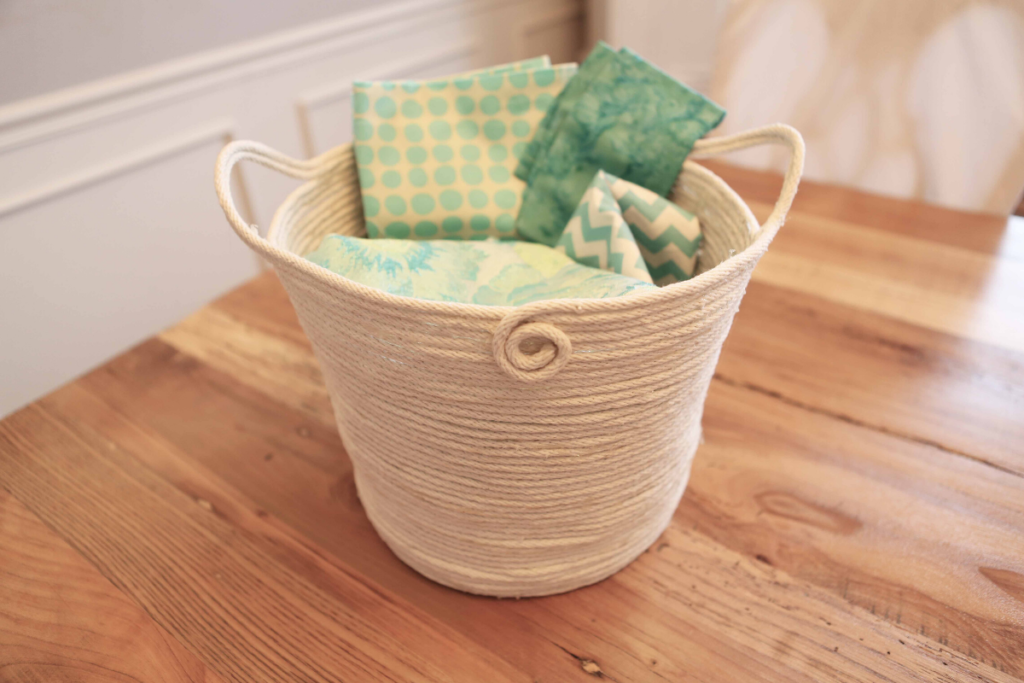
I hope you enjoy this by following the easy steps above to make a rope basket.
Pin It For Later
XOXO
Connie
Sign up to be a part of my community, to receive updates on the latest in my blog. Also, you will receive VIP access to my FREE Library, receiving tons of freebies, all in one place.

Connie: I love this-I will be sharing this on my wall-I love DIY’s. I can see all the work that went into this! Good job sweet friend 🙂
Thank you so much, my sweet friend.