Completely renovating your pantry can be very daunting. It is a very big job and requires a lot of patience. Especially, when your contractor is your husband!
This post may contain affiliate links, which means I make a small commission at no extra cost to you. See my full disclosure here.
There are many ways in organizing your pantry and I did mine from scratch. I was tired of those ugly wire shelving I had since the house was built. At one point I had to buy hard plastic matting to keep the food items from falling through the wire shelving and arbitrarily ending up on the floor.
Eventually, that plastic becomes brittle and once again items fell through. I constantly fought the battle of keeping items on the wired shelving.
Wood Shelving
I wanted wooden shelving, I wanted something that I didn’t have to continue to maintain. Wood can be just wiped off or freshened up with a new coat of paint.
Shiplap
I also wanted to try our skills at DIY shiplap. What better room to do it in, but the pantry! Do you get where I’m going with this? If we messed up installing it, it would not really be too noticeable, after all it’s in the pantry and most of the shelving and the food would hide the imperfections.
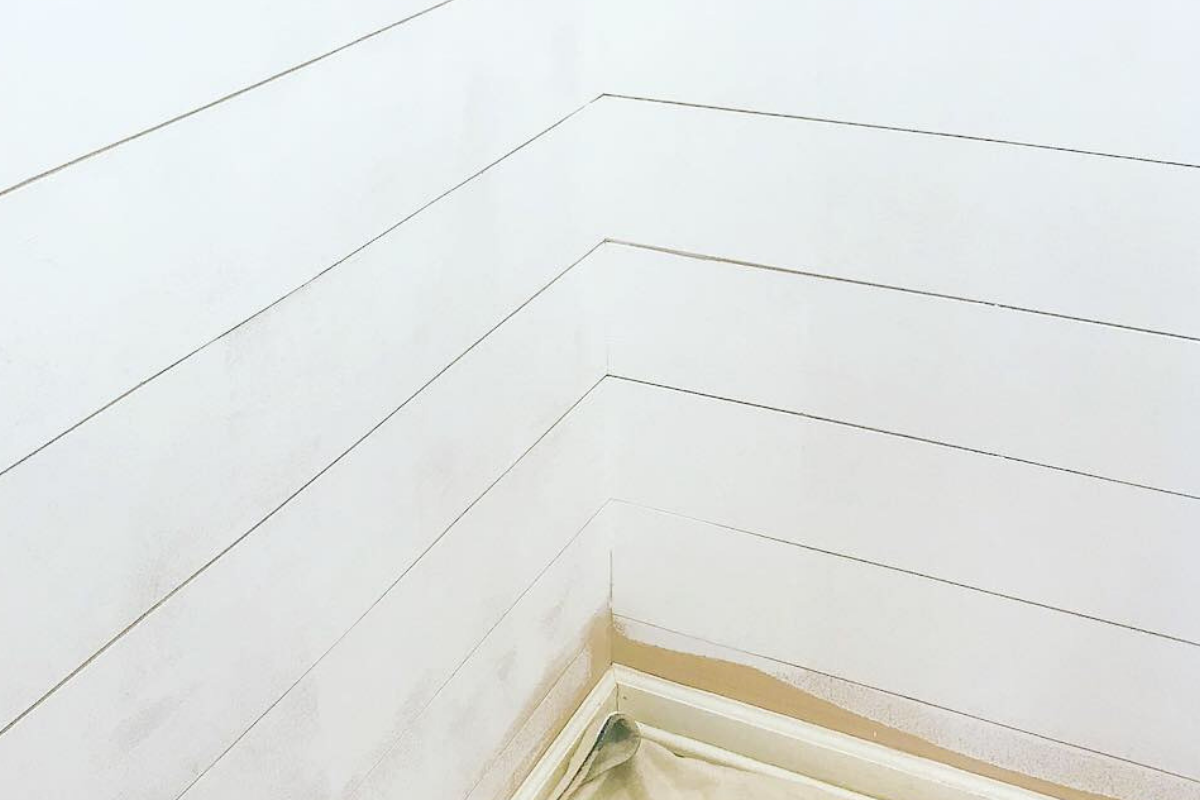
Much to my surprise our shiplap skills are a lot better than I anticipated. I am very pleased with how this looks. This picture below shows the initial install of the shiplap and will be needing another coat of paint.
Changing the Door to Open to the Outside
Another element that added much more room to our small pantry was to change the door to open to the outside of the pantry. Initially, the door opened to the inside and it took a lot of room in the pantry. It literally took up the entire wall space on the right of the pantry and at least 1/3 of the pantry space.
This is an easy project and only took an afternoon to do it. You find the step by step instructions here.
Steps to Organizing
So, let’s get on with how to organize your pantry. First of all, you must take everything out of the pantry, whether you’re doing a complete renovation or not.
- Remove all items from your pantry.
- Check for expiration dates, particularly your spices. If expired throw them away. You’ll be surprised at how much expired food you have in there. If in doubt and don’t really know, then throw it away, it’s probably expired.
- Clean all your containers and repurpose some of them for instance, baskets and items you’ll be using to organize.
- I like to use clear plastic containers like these for your packets.
- I also like the OXO Good Grip containers that I got from Amazon here and here.
- Once you have thrown away everything that is expired and you don’t need, do another pass through and really throw away more items you haven’t used in a while.
Steps to Labeling Your Containers
- I used a Label maker and a Silhouette machine for all of my labels.
- I also used the Silhouette machine to make the pretty labels and used the label maker to label my containers with the new expiration date. I particularly like the Label tape that is clear with either black or white writing.
- In addition, I placed the expiration date on the back side of my containers and placed some on the bottom.
Restocking Your Pantry
Now, that everything is clean, labeled and organized, it’s time to fill your pantry. I do another inspection of my food and purge some more items.
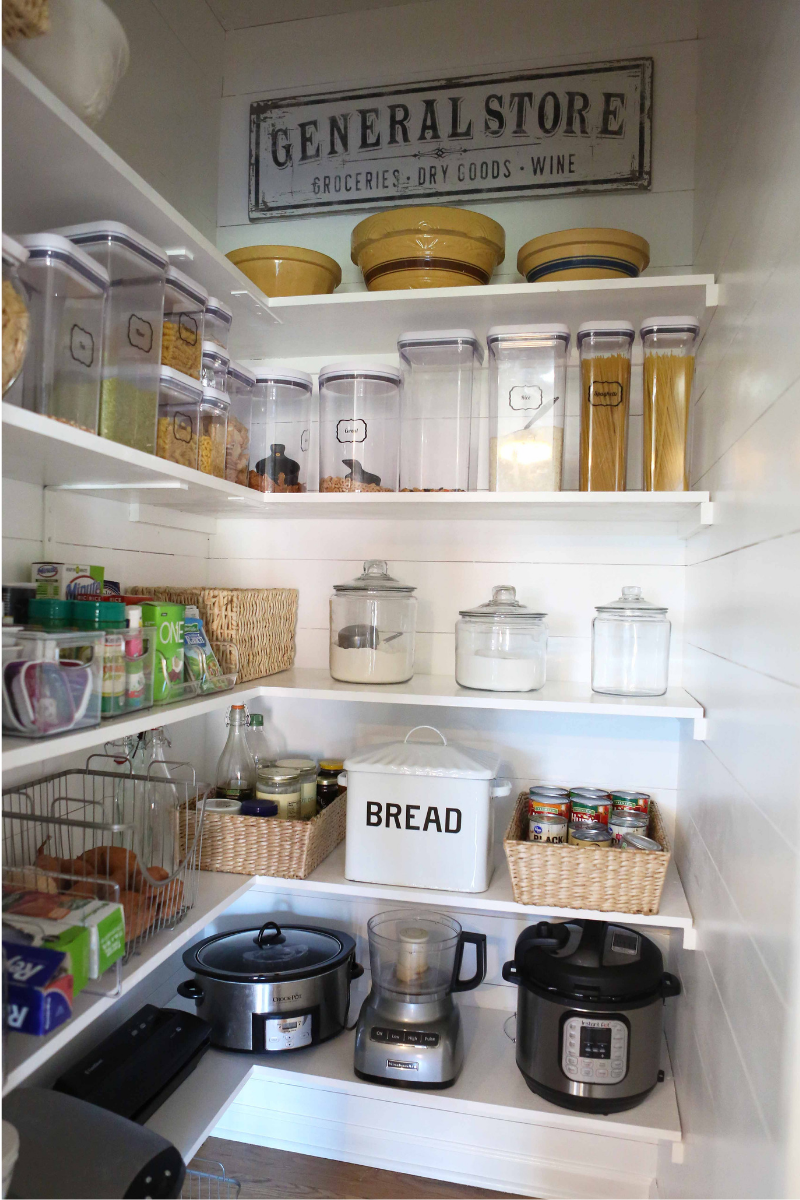
- I like to put likes together, for instance all flour, sugar, brown sugar, powder sugar etc, together on the same shelf. This makes it easy when I’m baking that all my items are easily reachable.
- My can goods will also go together, I don’t have too many of those because I normally freeze all my veggies from my garden. However, there’s always some canned goods in my pantry.
- Also, get a bread box, this is really important. A bread box will keep all your breads together and also will keep the crumbs contained. You can always pull it out and clean it periodically to keep the crumbs out.
- I also left a space tall enough under the first shelf to put my paper goods, such as paper towels, paper napkins, toilet paper etc. Those paper items I put in wicker baskets nicely tucked under the first shelf.
- Spices….they have always been my most challenging organizing technique. One of my friends has a beautiful Blog and she gives step by step instructions on how to make all your spices fit in a drawer. I love this look and it is functional as well as pretty. You can find how she does that here.
- The spice jars I used are from World Market and just love them and they fit perfectly in my new drawer.
- All of my packets are in these clear containers, it allows me to see what I have and what I’ll be needing. I bought these on Amazon here.
- A must for all tea drinkers is an acrylic clear tea box. I love this tea box, because I hate to run out of tea and this tea box allows me to see what I have and need. I bought my tea box from Amazon here. Since my husband is a tea drinker too, I have ordered a second one for him. Another tip on organizing your tea bags is to alternate placing each tea bag, one upside down and one right side up. You can get more tea bags in your container and they fit better.
This is a great start, there are many more ideas and customization that you can do to suit your lifestyle.
Bottom Shelf
I used the bottom shelf for my small appliances. I really do not have a place to store them in my cabinets and my Butler’s Pantry is only a figment of my imagination, for now.
Grocery List
I decided to go one step further, and that’s because we have an incredible busy lifestyle, as most of us do. When I grocery shop, I do it by the seat of my pants. I run into the store and get what I want and what I don’t need. Consequently, I either overbuy or underbuy and have to go back in a day or so to buy the things I forgot. Did I tell you I hate grocery shopping! This prompted me to get on my computer and make a grocery list. This list contains everything in my Pantry, refrigerator, including toiletries and cleaning products.
I have printed out several copies and placed it in my pantry. When I run low on an item I place a check mark in the box next to the item. This way I don’t overbuy or underbuy. I buy the things that I need!
I hope I have inspired you to tackle what I think is one of the biggest organizational projects in your home. Do this at your level, if you just want to remove all the items, give your pantry a good cleaning and put things back, then do so. This in spite of the time (I’m inpatient) it took, I love it!
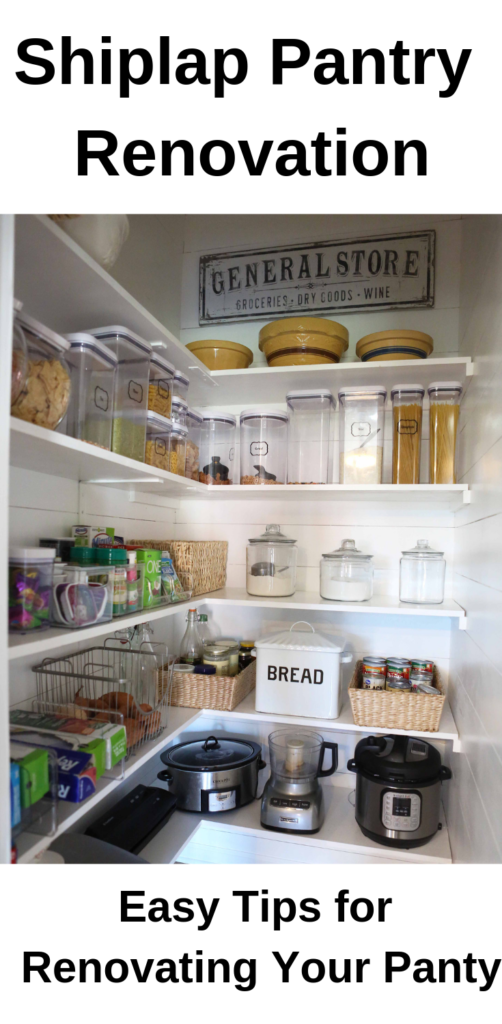
Pin For Later
Sign up for my updates and you will receive access to my Library where you have find E-books and lots of freebies.

Omg this looks so good!! I would love to do shiplap in ours too!!!
Thank Melissa, it’s a great space to try your shiplap skills.