Changing a door to open in a different direction is easier than you think and you can do this in one afternoon! For many years my pantry has always been a thorn in my side. The door opened to the inside, taking over 1/3 of the space in the pantry. This always bothered me, and in an attempt to fulfill one of my new years resolutions, (organizing and decluttering my home), the first thing on my agenda was to change the direction in which the door opened.
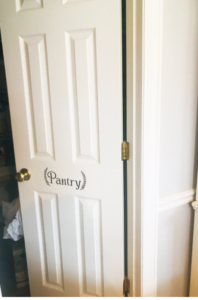
This project was super simple to do! This is a picture of how the door opened, as you can see it takes up a lot of valuable space in the pantry. Space, in which I could install more shelving.
This post may contain affiliate links, which means I make a small commission at no extra cost to you. See my full disclosure here.
Supplies and Tools You Will Need
- New door knobs and door hinges (we used the old ones)
- Phillips head screwdriver
- Chisel
- Wood putty
- Sander
- Hinge Mate 150 Jig
- Clamps
- Utility knife
Hinge Plate jig
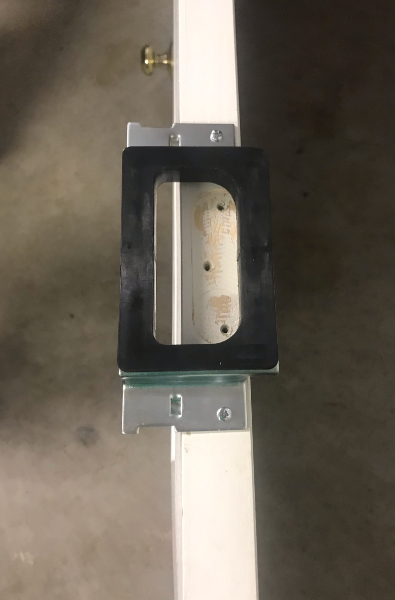
First, you must get the proper tools. You will need a jig called a Hinge Mate 150 jig, you can find it here.

This small inexpensive jig will save the day and make the project go by so much faster making it a great investment.
Directions for changing the door
First, remove the door off the hinges. My husband took the door into the garage and laid it across a table in order to mark the areas for the new hinges. This is what it looked like when he marked it.
Once you have measured and set both of your plates in, you will set that aside and then work on the frame of door.
At this time you will need to place the hinge plate opposite from the previous plate in order to rout out a new area for your hinges and for the door to open to the outside of the pantry.
Pin it for Later
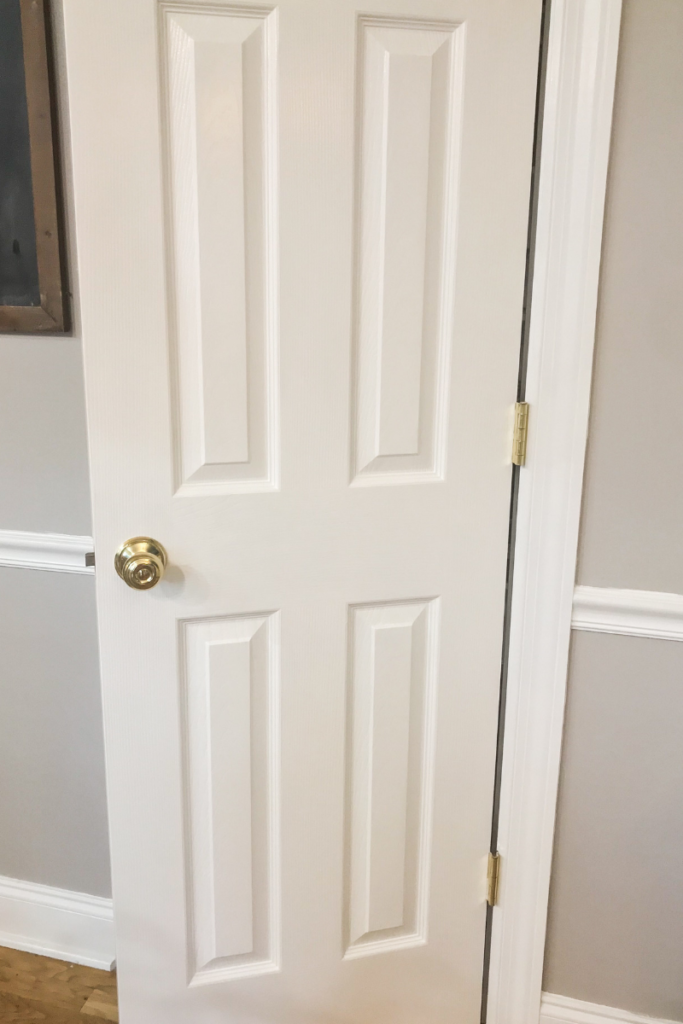
Your Door is Done
Your door is done, at this point there will be some minor finishing touches. You will need to fill in some areas with wood putty, where you took the old hinges off, you will need to flip your striker plate upside down, on the door frame. This will allow the striker to hit the hole correctly.
After the putty is dried you can sand the rough areas, chisel and sand away some thick areas of putty and any other small finishing touches. Then all you need to do is paint and you’re done!
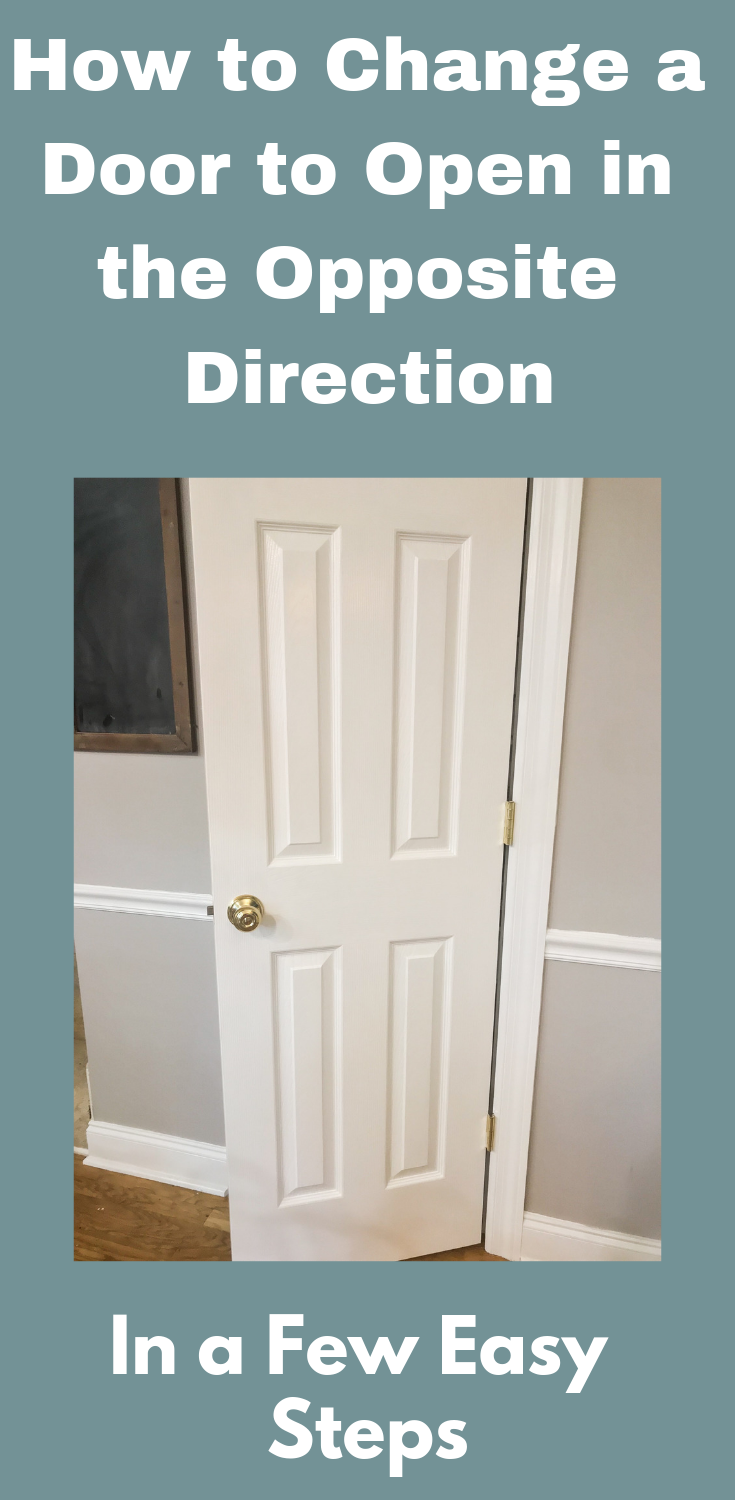
Here is how the door looks now. I just love it!
Enjoy!
Sign up to be a part of my community and you will be the first to receive the latest information, you will also receive complete and full access to my Library where you get FREE E-books and tons of freebies!

Leave a Reply