In this post, I will show you some simple steps on how to make milk Kefir. Kefir is a nutritional food/drink that is rich in probiotics and vitamins.
Those of you know that know me, know that I like to live a natural lifestyle as much as possible. Which brings me to fermenting foods. Fermenting foods is one of the healthiest ways of eating that is gut health and goes back to how our bodies actually function. You can read about fermenting foods in this post here.
I will show you some simple steps in making milk kefir. Milk kefir is one of the most simple ways of fermenting food.
First of all, let’s talk about what Kefir is. Kefir is one of the oldest milk ferments in existence. Keifer is milk that is fermented at room temperature with kefir grains for about 24 hours. Milk kefir has many wonderful benefits, taste wonderful and has a huge spectrum of probiotics. Sustainable grains make it affordable and very economical. Authentic kefir is only made by kefir grains, not from any packet or powders that are sold commercially in stores.
There are many flavoring you can add to your Keifer such as fruit juice. Fruit juice can only be added once the grains have been removed. I usually tweak this but it is suggested that you can use 1/4 cup juice per quart of kefir. I normally add just a little more. This drink is not normally suggested as it thins out the drink and makes it a thin milky fruity drink. But, I love it!
Always remove the grains when adding flavoring. Some more flavorings are:
Vanilla Extract, use a small amount 1/4 tsp to a cup of kefir
Almond Extract
Preserves, approximately 1 tablespoon preserves in 1 cup of plain kefir cream cheese.
Cocoa & Carob
Nutella
Fresh Fruit
Honey
The sky is the limit, use your imagination and start out low and add to your taste. Remember to preserve your grains before adding flavoring.
How To Make Kefir
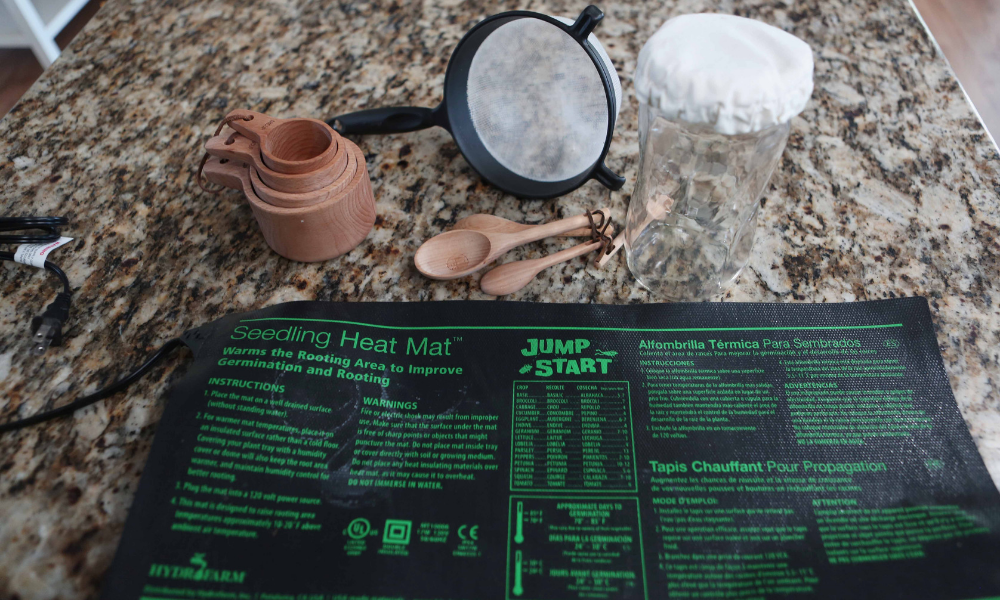
Supplies
Most fermentations, including Keifer, do not like any type of metal utensils or containers. it will damage your grains.
It is recommended that you use glass, wood, and plastic when fermenting.
2 Pint or larger jar
Wood or plastic spoon
Plastic/nylon strainer
Ingredients
Fresh whole milk. Make sure your milk is not ultra-pasteurized or lactose-free. Raw milk is best nutritionally, but sometimes that’s difficult to obtain. In the state of Tennessee, it’s illegal to sell raw milk for human consumption. although some advancements have been made in cow shares, it is still illegal. You can read about it here.
**When buying organic milk check the cartons carefully, many are ultra-pasteurized.
***Hold off on experimenting with other kinds of milk such as canned, almond, soy or coconut until the grains have balanced in their new home for several weeks.
Steps
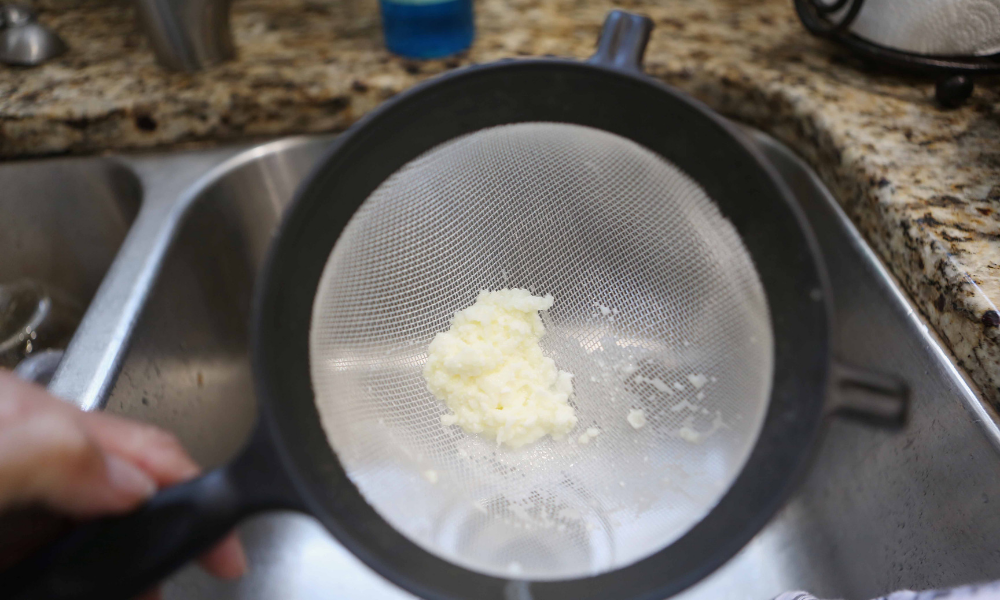
- When you get your Keifer, strain the grains and discard the milk in the container. While in your strainer, gently rinse them with some fresh whole milk to give them a quick rinse. Be mindful that chlorine can destroy the grains, so if you use water only use spring water. (I do not use any kind of water).
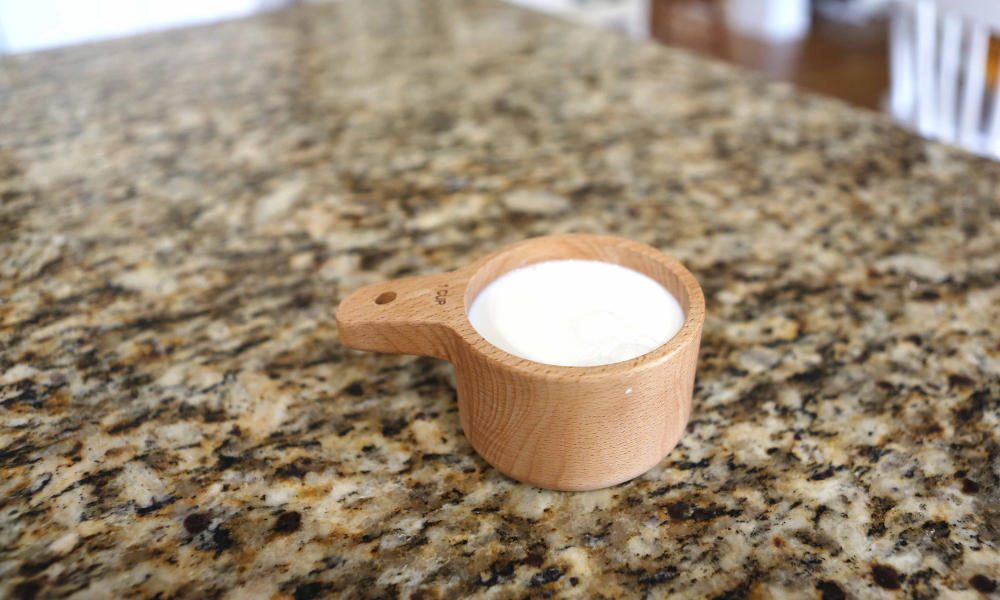
Put your grains in a clean jar that’s big enough to hold at least 1 cup of milk, providing you’re starting with 1 tablespoon of grains. I use a wide mouth Ball jar, but you can use a skinny mouth jar.
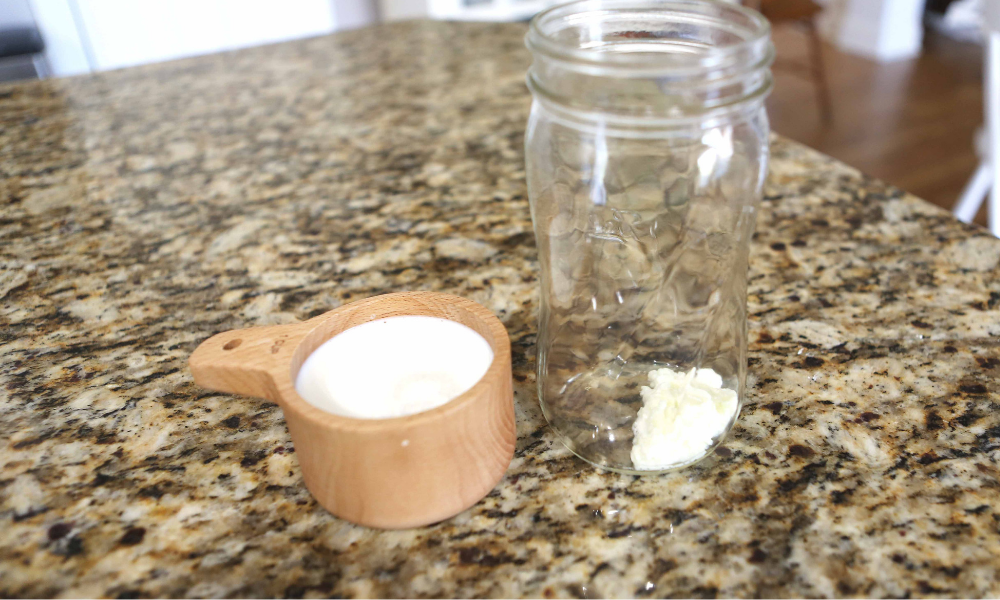
Add 1 cup of fresh milk to your grains. Be mindful that your first grains may be a little sluggish and may require more than 1 cup, especially in warmer weather.
Cover the top of the jar with a cloth, paper towel held with a rubber band, I use a muslin gathered cover. I use something like this.
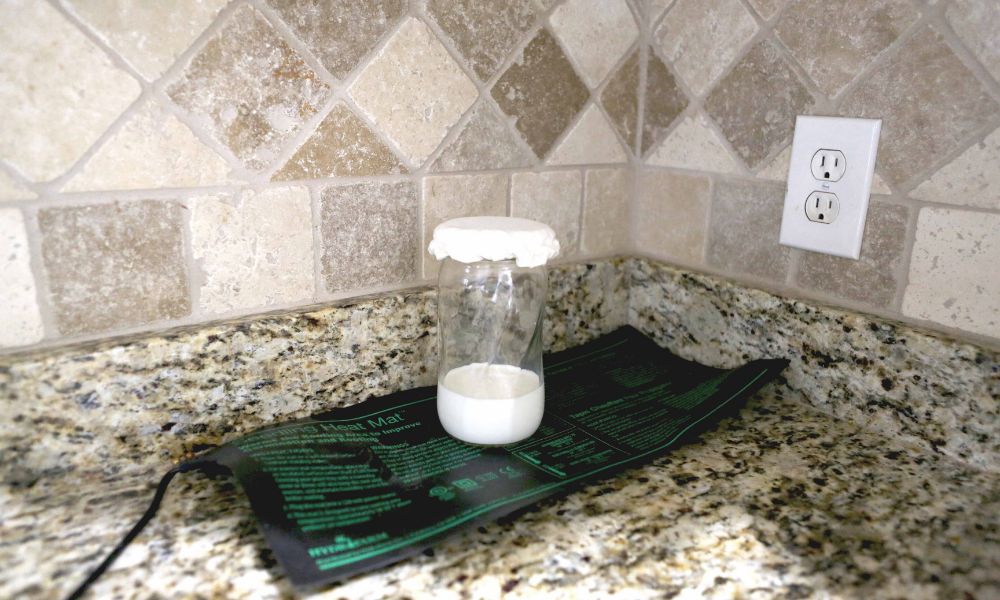
At this point, let them rest and watch them grow. Place your grains out of direct sunlight, I usually put mine under the cupboard or you could put them in a cupboard. It’s not necessary to shake or stir your Keifer while it’s fermenting unless they are fermenting too slowly. But, if you do want to shake and stir it’s okay, go for it! I also place my Kefir jar on a warming mat like this one.
Kefir milk should be ready in 24 hours. You can tell if your Keifer is ready when you tilt the jar and you see the liquid look slightly gel-like. The milk should smell yeasty, like bread or yogurt. How long you ferment depends on your taste, the longer you ferment, the more acidic or tart it will taste.
If your first batch has an off odor or strange odor, I would discard it. I always discard my first batch regardless of look, taste or odor.
Kefir is Ready
The kefir is now ready, you need to separate your milk from the kefir grains. Use your plastic strainer and a clean mason ball jar and strain your milk into the jar. The grains will not normally strain as they are somewhat rubbery and solid. As you are straining you will see the clear whey. This will produce milder kefir. Personally, I leave it to get the full nutritional benefit of the kefir.
You can put the grains back in the original jar, I don’t wash my jar because of some soap residue may be harmful to the grains. At this time, you can add more milk to the Keifer grains, to make more kefir milk, or just add enough milk to cover the grains and cover and put it in the refrigerator for 2 -3 weeks.
Once the Keifer milk is strained, you can stir any chunks left in there and its ready to drink.
This is the most healthy probiotic drink that is, rich in A, B, C, D, E, K2, Iron, Potassium, Calcium, Magnesium, Phosphorus, Zinc-vitamins. The probiotic count in kefir, under ideal conditions, maybe as high as 2.4 trillion per cup.
Experiment and give it a try, if too tart, remove the whey, ferment less time. If you want it tarter, ferment over 24 hours and leave in the whey. As I stated earlier I leave the whey, because I want the most benefit from my Keifer.
Ask any questions and I will be glad to help.
XOXO
Connie
Pin it for Later!

Sign up to be a part of my community, to receive monthly updates on the latest in my blog. You will also receive VIP access to my FREE Library, receiving tons of freebies, all in one place.

Leave a Reply