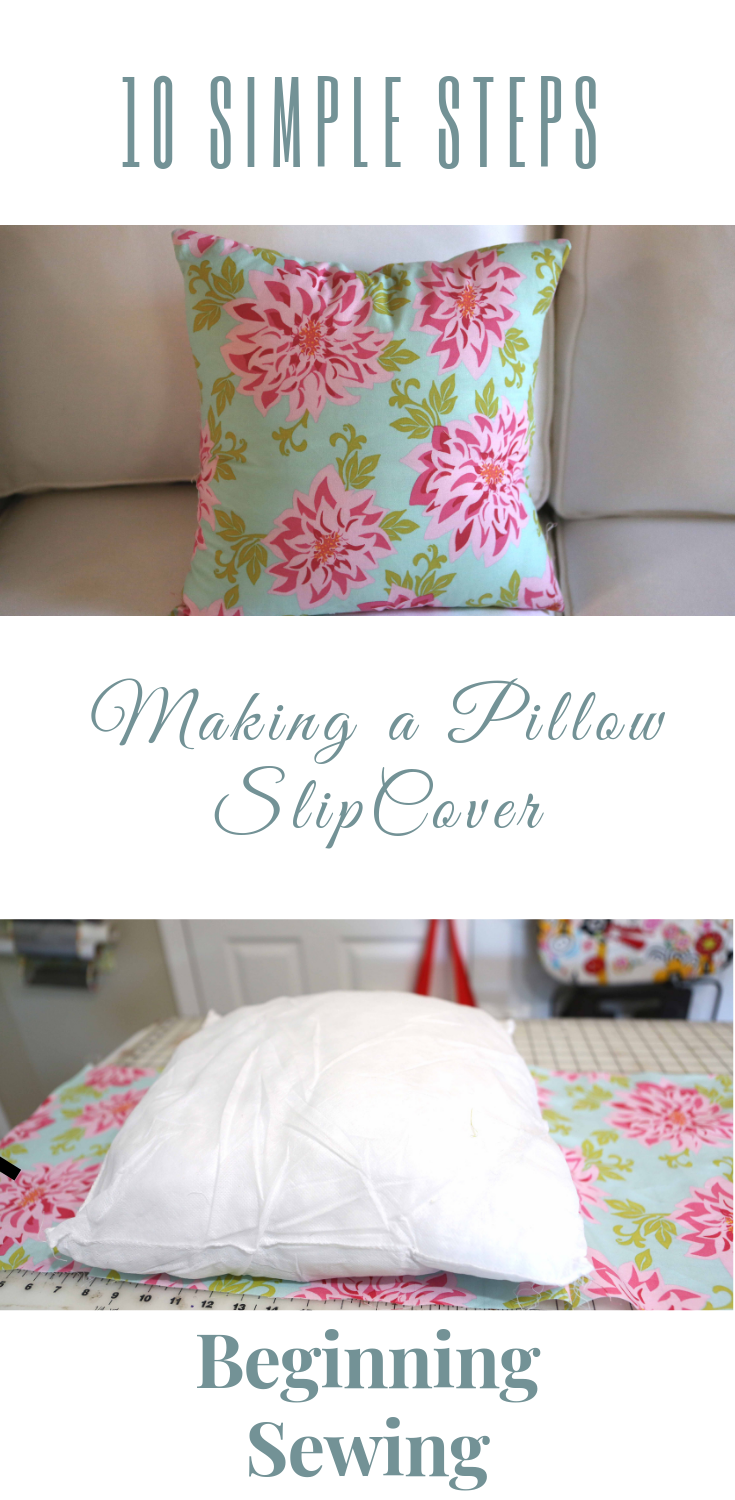
Ten simple steps on how to make a pillow slipcover. In this part 2 of the beginning sewing series – Learn ten simple steps on how to make a pillow slipcover. You will learn how to sew straight seams and how to make a pillow cover to freshen your decor.
This post contains affiliate links, which means I make a small commission at no extra cost to you. You will find my full disclosure here.
Supplies you will need
1-yard Fabric of your choice
Aurafil Thread
Scissors or Cutting Tool
Ruler (if you’re using a Cutting Tool)
Cutting Mat
Iron and ironing board
Sewing Machine
Pillow Form – I will be using a 16 x 16 pillow form, or you can buy one here.
A Reminder on Your Thread
Aurifil is the thread of choice that I recommend. This is 50 wt all cotton thread and is the most versatile thread there is. It is easy on your sewing machine and will not shred. You can buy this thread here.
Getting Started
Let’s get started with your ten steps in making your pillow slipcover. By following these ten simple steps, you will make this beautiful pillow slipcover in less than one hour.
Step One
Start out by deciding if you want a loose fitting pillow slipcover or more of a tighter or snug fitting pillow slipcover. Personally, I like both depending on the area of decor where I will be using my pillow.
Step Two
For a loose fitting pillow slip, cut your measurements the size of your pillow plus 1/2, this will allow a 1/2 seam allowance. You will cut your 2 pieces of fabric one 16 1/2 x 16 1/2 and the other 16 1/2 x 21 1/2 inches.
For a snug fitting pillow slip, trim your fabric 1 inch less than the size of the pillow. For instance a 16 x 16 insert, you will cut your fabric 15 1/4 x 15 1/4 inches and the back piece 15 1/4 x 20 1/4 inches. This will allow you only a 1/4 inch seam allowance.
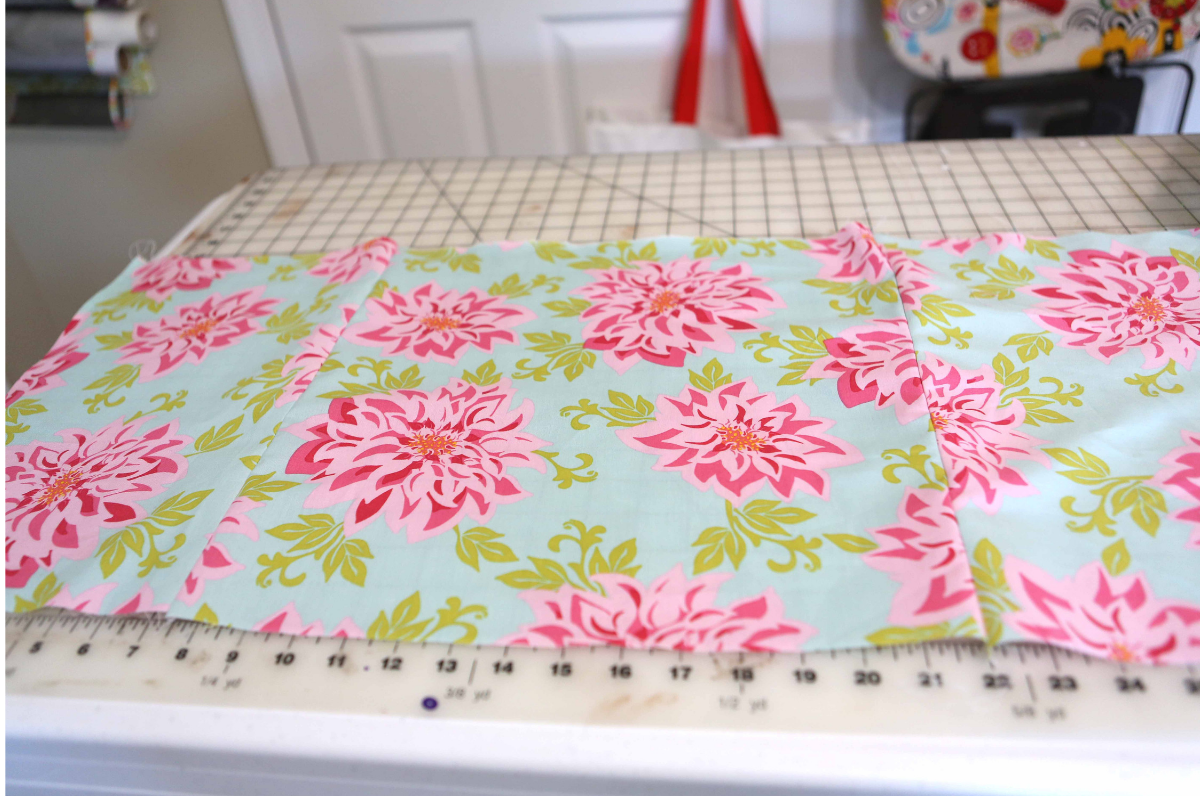
If you notice I cut one piece of my fabric 5 inches longer than the other. You will trim this 20-inch piece in half and it will be the back of your pillow or the envelope that you will use to slip your pillow insert.
Step Three
Now, that you have all your pieces cut, you will have 3 pieces of fabric. It’s time to put all your pieces together.
For instruction purposes, I will be using the measurements for a snug pillow cover.
This is super simple. With right sides together take your 2 smaller pieces and lay it on top of the larger piece. Sew a 1/4 inch seam on each side. You will only sew a seam on one side of your fabric.
Zig-zag all your sewn seams, more of this later in this post, on Step 8.
Step Four
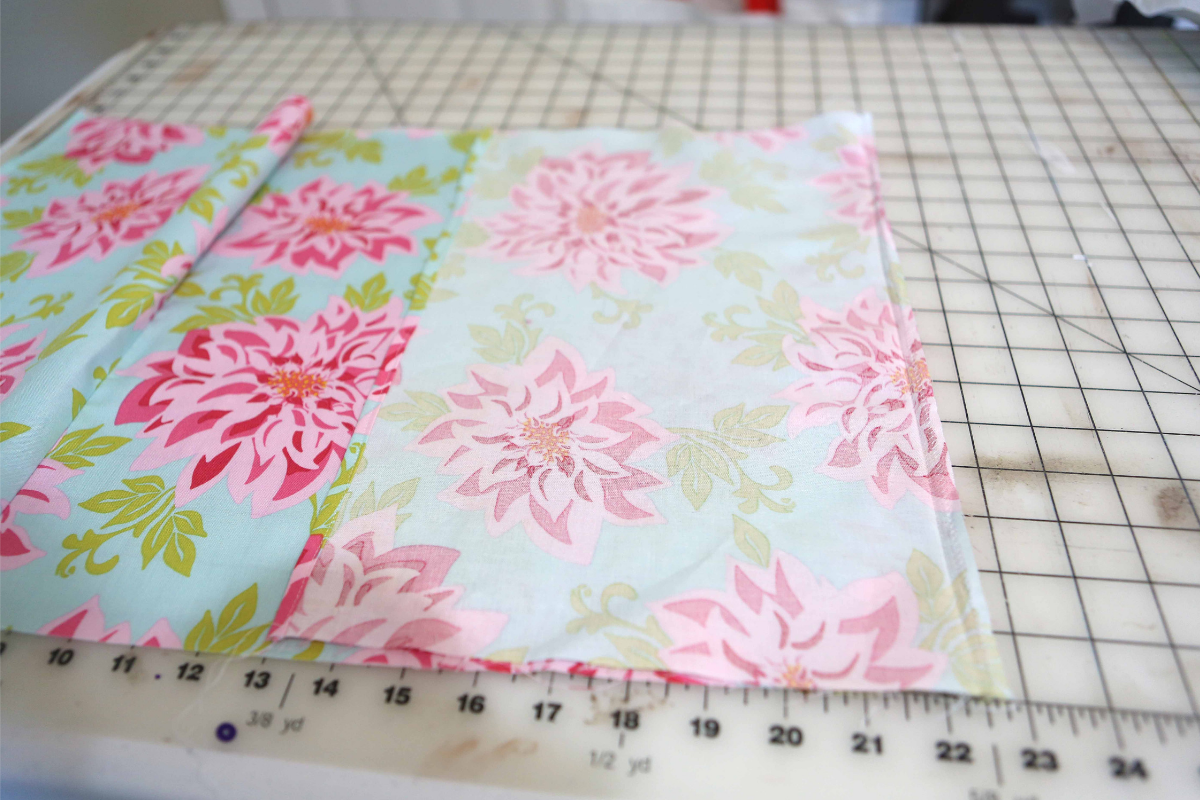
Once you have sewn the three panels together it will look like this picture above. You will have one long strip. I did not match my pattern repeat, so my flowers are not matching. Pattern repeats are not for the beginner and I did not feel this needed to be in this tutorial. This fabric will be in the back of the pillow and never be noticed.
Step Five
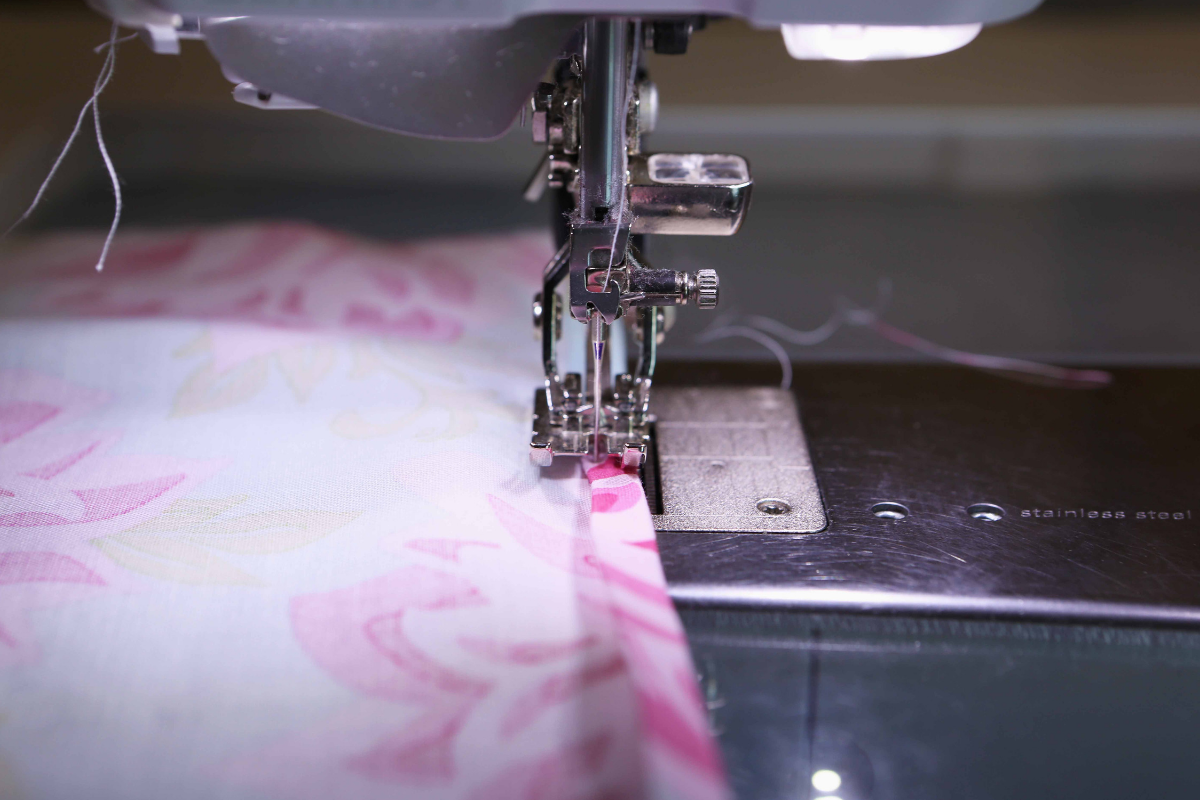
Take the two end pieces separately that have raw edges and fold over 1/4 inch, press it down carefully, then fold over another 1/4 inch and press again. Then you will stitch on the sewing machine close to the edge as below.
Step 6
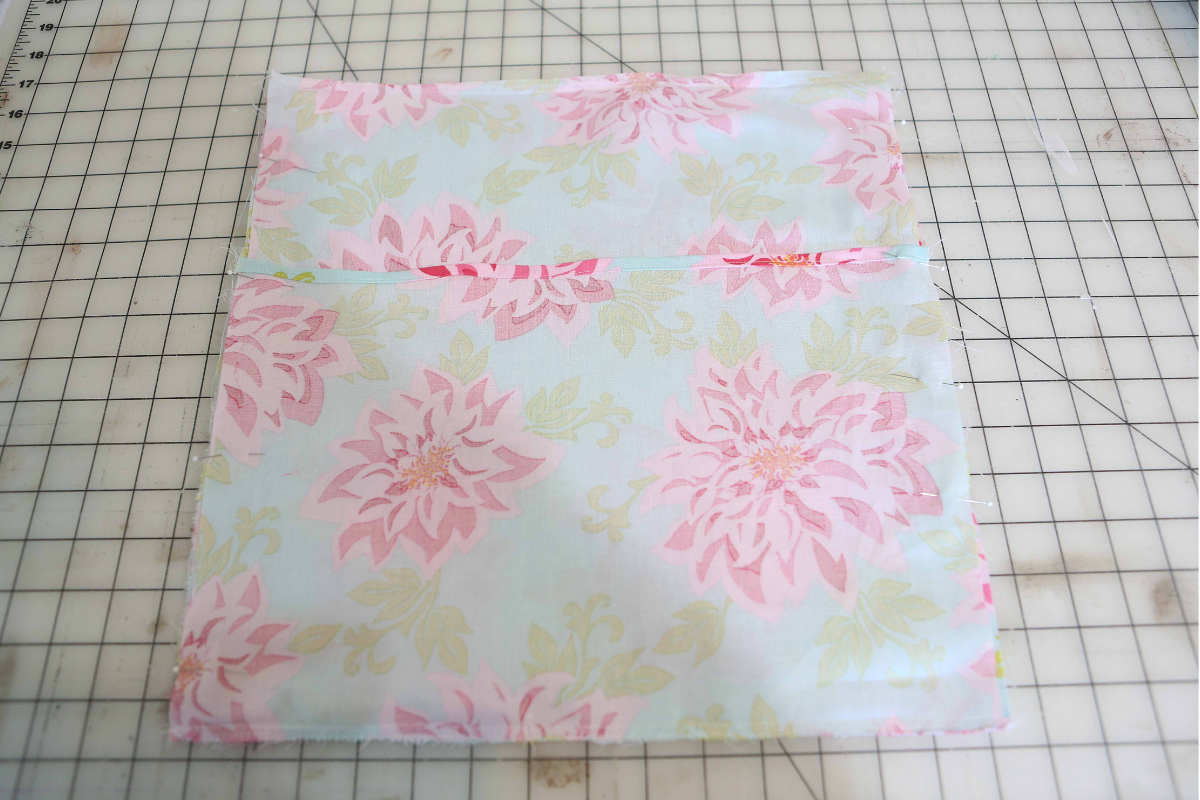
After you have sewn the two raw edges and pressed your seams, its time to make an envelope for your pillow form. Place your long panels that are sewn together and lay them right side up. Fold over one short panel over the middle panel, right sides together. It will look like this below.
Fold over both pieces of fabric to the center, one over the other.
Step 7
Make sure that all the edges are even. Next, you will pin all raw edges together and sew both raw edges down with 1/4 inch seam.
Press all your seams firmly.
Step 8
After you have sewn the raw seams, you will want to zig-zag your edges, particularly if you are using a 1/4 inch seam allowance. I have set my machine for a zig-zag stitch and changed my presser foot to the 1D presser foot. This allows a bigger area for the needle to create a zig-zag and not hit the top of the presser foot resulting in a broken needle.
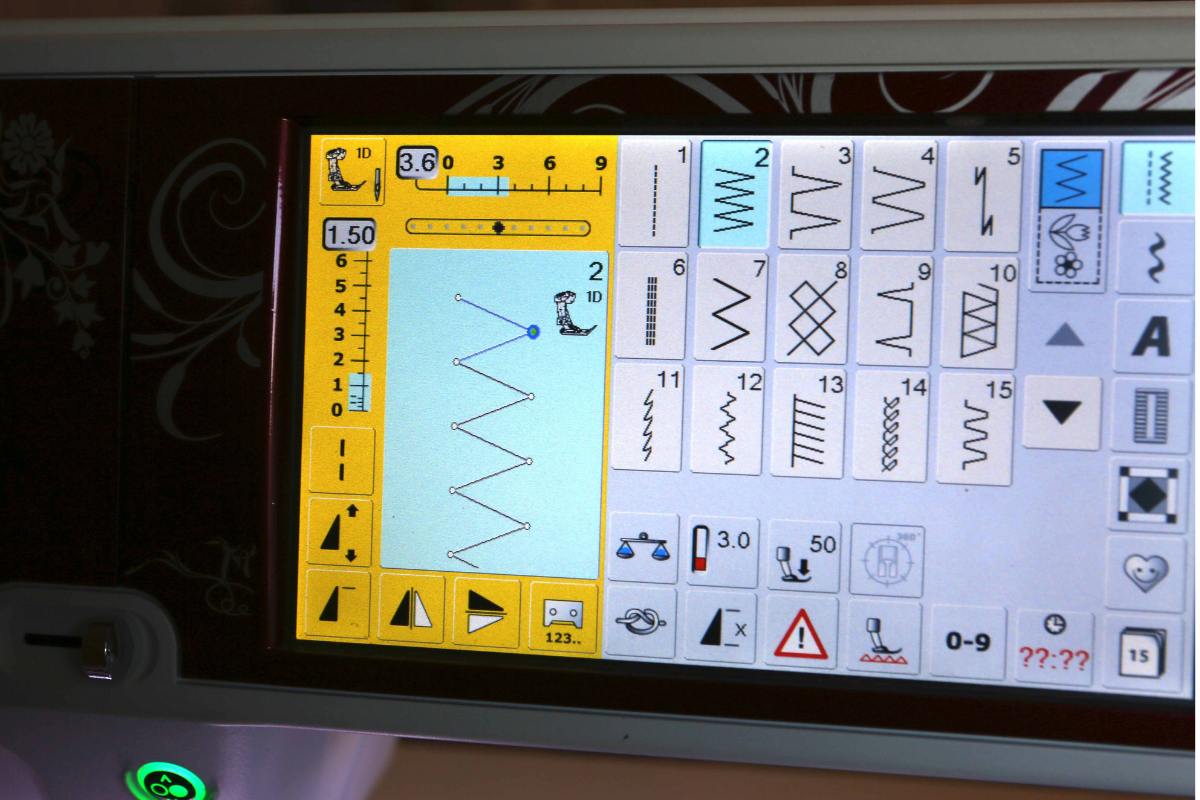
Zig-zag the four sides of the pillow. After you have zig-zag the pillow, trim the edges being careful not to cut into the threads. This will allow your pillow stitching to be secure and not break. It will look as shown below.

Step 9
Turn the pillow inside out and by using your finger to push the fabric out in the corners, to look pleasing. After you have the pillow cover as you want, turn it right side out, then give it a good press.
Step 10
It’s time to stuff the pillow form into the pillow slip. If you made the pillow cover loose fitting, then you will be able to fit the pillow form easily into the slipcover. However, if you made the pillow slip snug, you will have to work on it to fit it inside the pillow slipcover. Don’t give up, sometimes, its a little difficult.
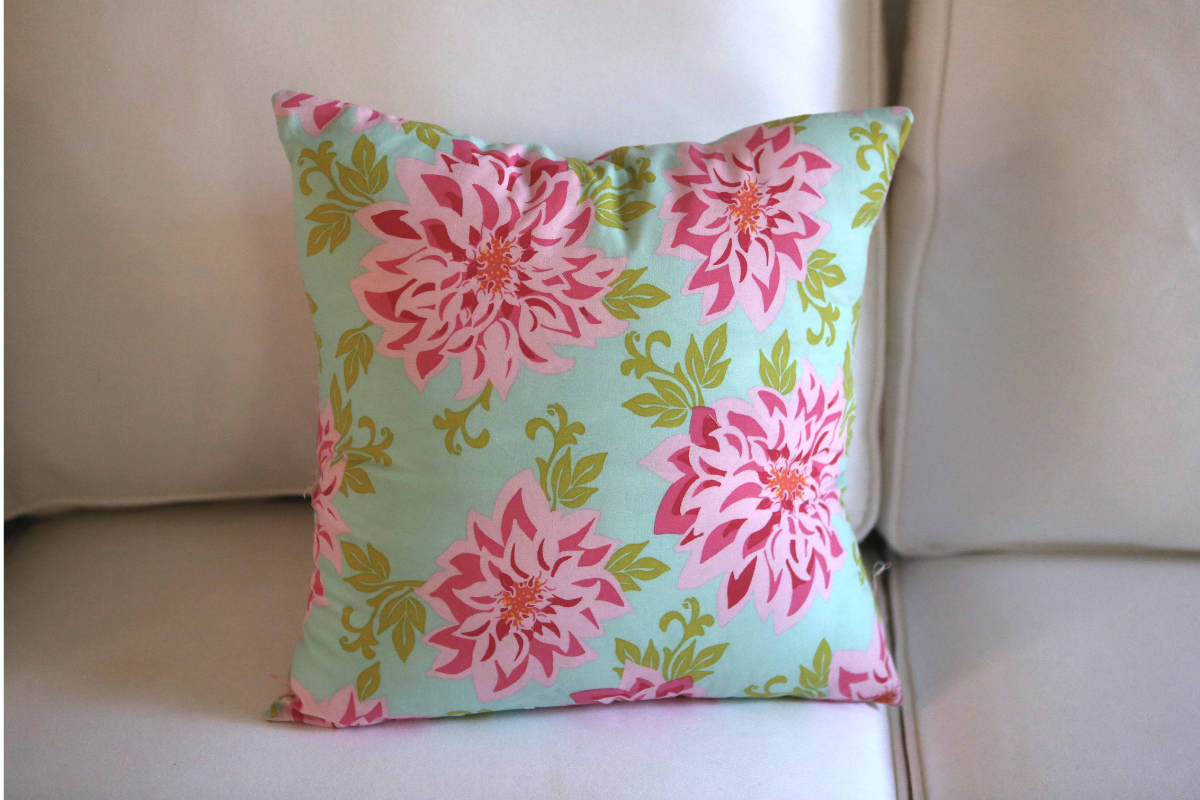
After putting the pillow form inside the slipcover, you can now place it in your favorite spot and Enjoy!
XOXO
Connie
Pin it For Later
Sign up to be a part of my community, to receive weekly updates on the latest in my blog. You will also receive VIP access to my FREE Library, receiving tons of freebies, all in one place.

Leave a Reply