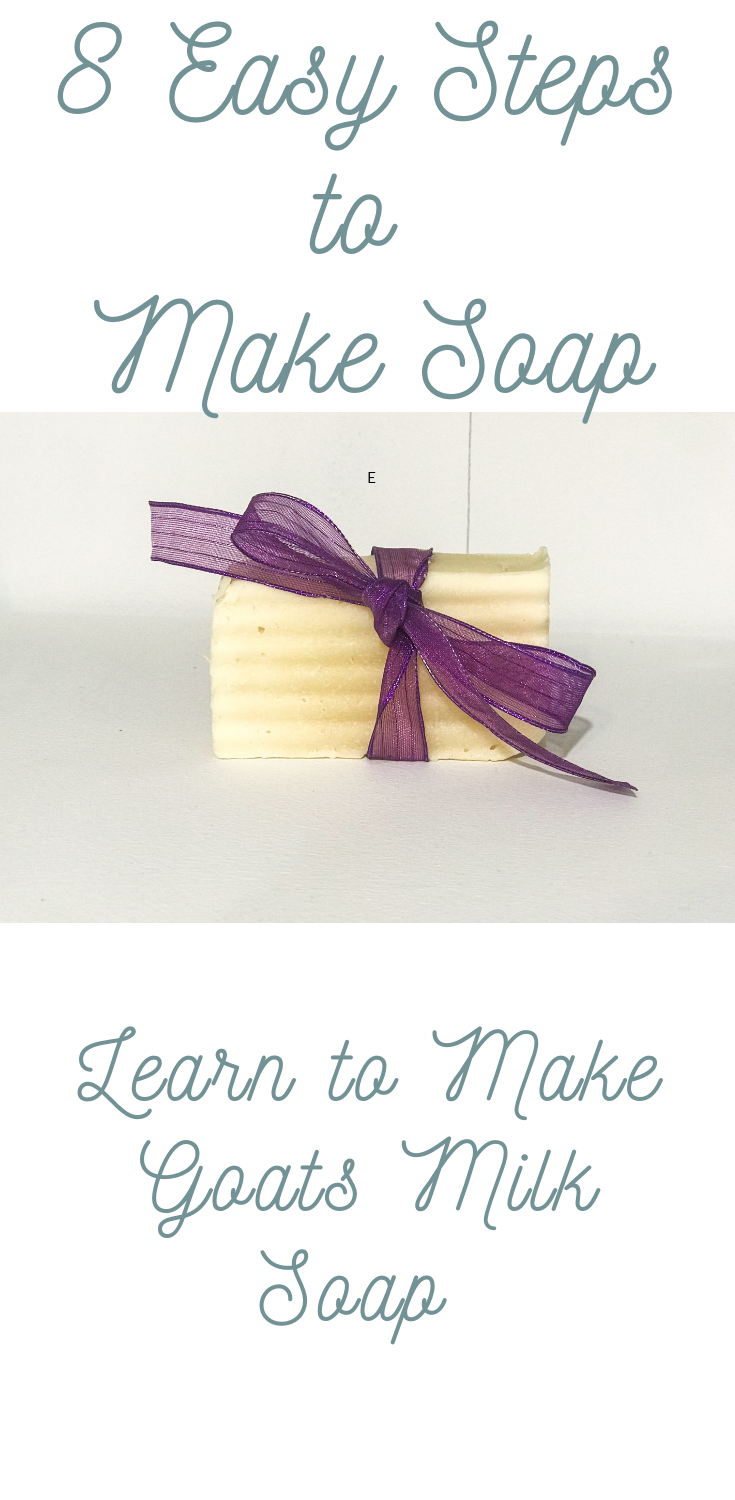
Here are eight easy steps to make soap! Have you ever wanted to learn to make soap? If so, here are some simple steps to follow to make some wonderful soap.
First of all, here’s a little history on the soap. There is evidence that soap was made as early as 2800 BC.
The ancient Babylonians were the ones who invented soap and evidence for this are Babylonian clay containers dated at 2800 B.C. Inscriptions on the containers present the earliest know written soap recipe and they state that the product was made from fats combined with wood ash and water. Isn’t that interesting?
Here are you easy steps to make soap!
Supplies
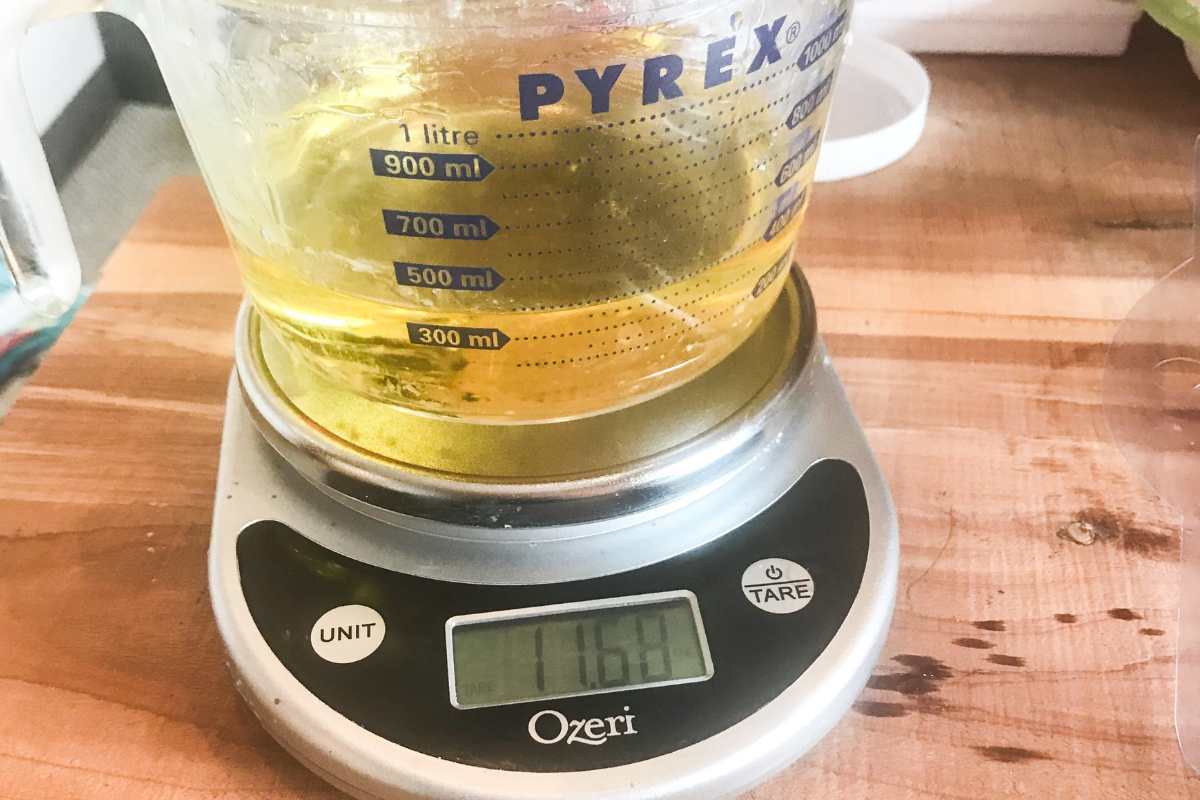
20 ounces Olive Oil
20 ounces Coconut Oil
8 ounces Palm Oil or Sunflower Oil
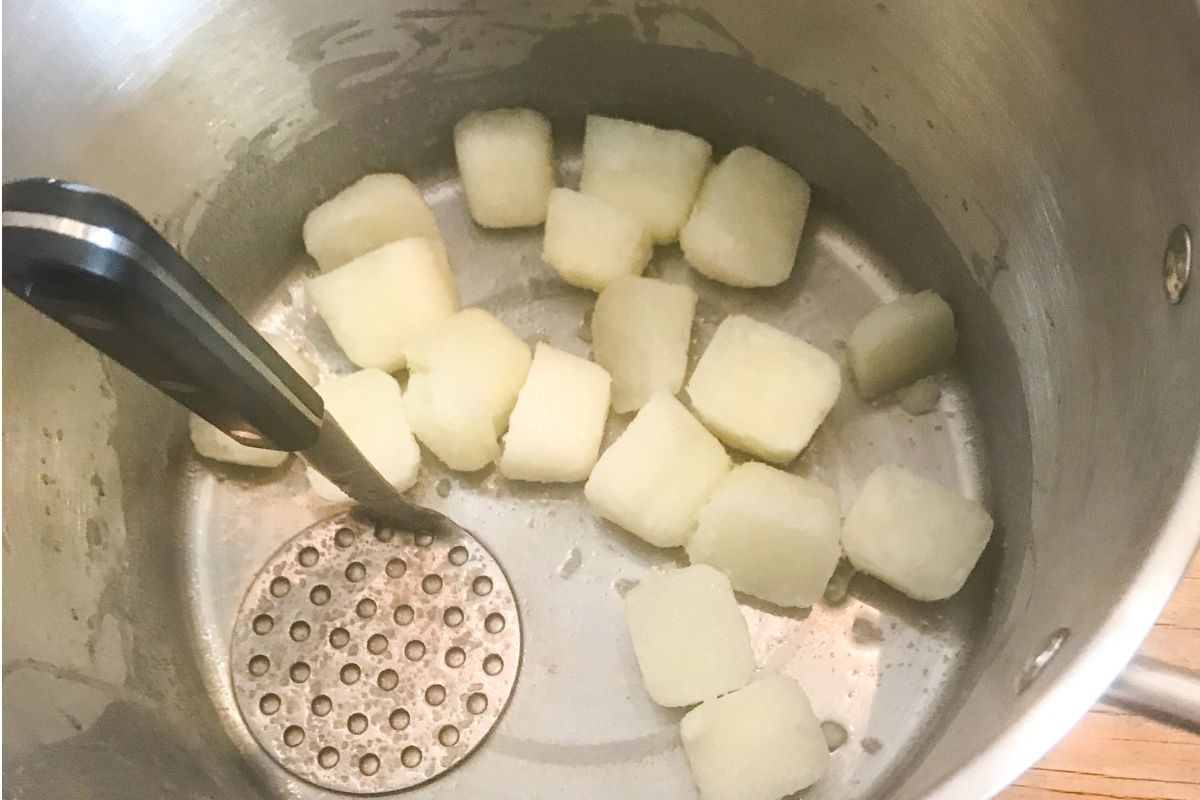
15.7 Ounces of Goats Milk (pour the goats milk in a ice cube container and freeze overnight before using)
6.9 Ounce Lye
Scale (you can find it here)
Thermometer (you can find it here)
2 Large Stainless Steel Pots
1 Medium Stainless Steel Bowl
Metal Spoon
Metal Masher
2 Glass Measuring Cups
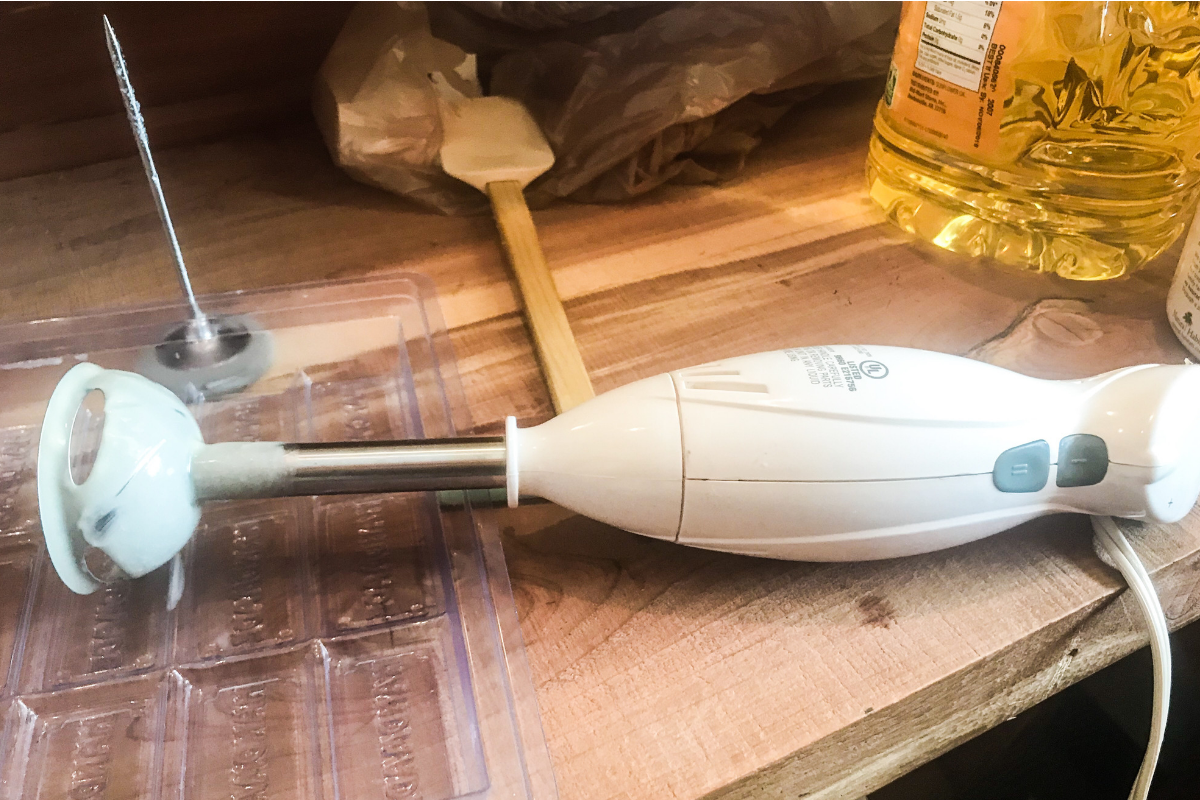
Stick Blender (you can find it here)
Mask
Heavy Duty Gloves (you can find it here)
A Container just for your lye
Stove
Step One
Weigh all your liquid oils, combine your liquid oils in the stainless steel bowl.
Measure your solid oils and place them in one of the large pots over the stove and heat until your oils have melted. You will want to bring your temperature of this oil up to and between 100 degrees – 130 degrees.
Once you have reached the desired temperature add your olive oil to the mixture and do not heat to less than 100 degrees or greater than 130 degrees.
Step Two
Mask up, glove up, and use caution.
Step Three
In the meantime, in your other stainless steel pot add your frozen goat’s milk first then add the lye. Stir until all goats milk has turned to liquid and lye as dissolved.
Step Four
Now it’s time to add your heated oils to the lye/goats milk mixture. While simultaneously mixing with your stick blender.
Step Five
Blend your soap mixture until trace. “Trace” is the consistency of cake batter. This may take a few minutes to do.
Step Six
Add the essential oils to your batch of soap. I typically add about 5 ml to each soap mixture. Stir in the essential oils with your stick blender until well distributed. I used Lavender and/or Eucalyptus in this batch.
I do not add any color to my soaps due to my preference at keeping everything as natural as possible. Although, I have heard there are Mica organic food coloring that you can use. I cannot recommend these due to not having any experience with them.
My next batch of soap I will try straining blueberries and cherries to make the color purple and swirl it int the soap mixture!
Step Seven
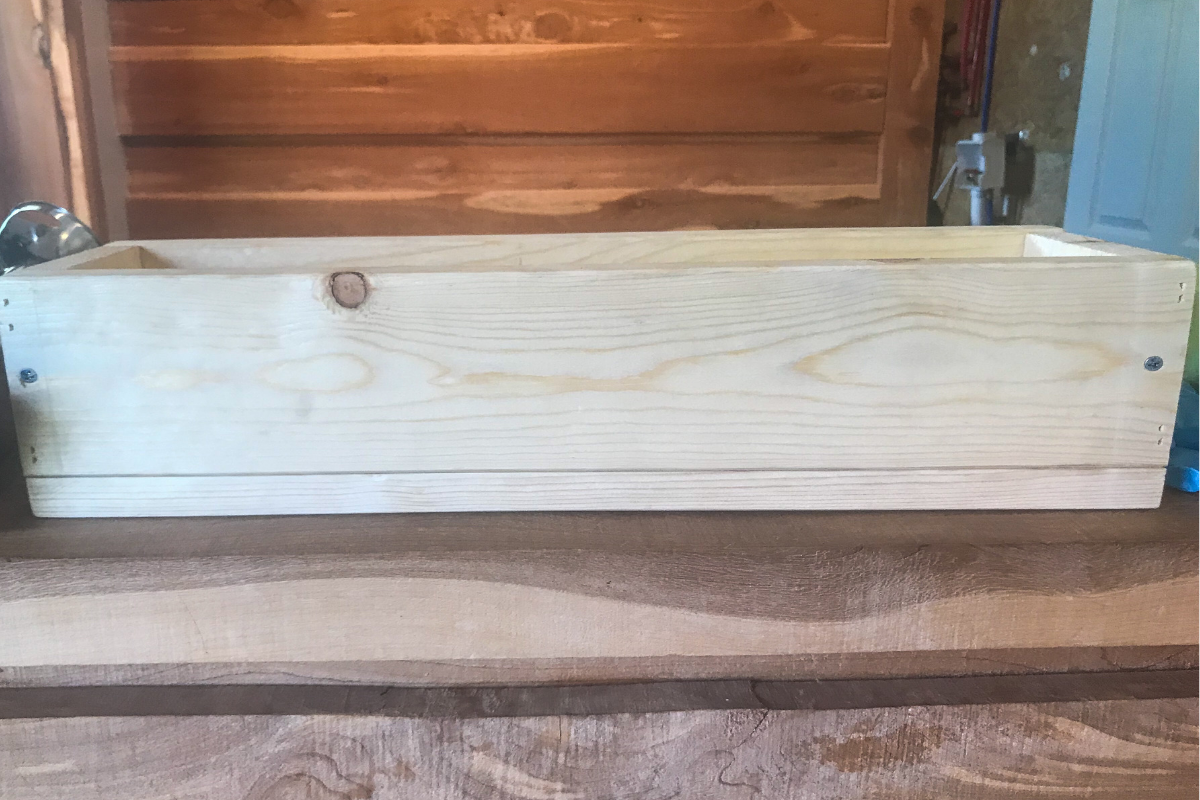
When your soap has come to trace you can now pour the soap mixture into your molds. I have used silicone molds in the past and they are super easy to work with. This time I used wooden molds.
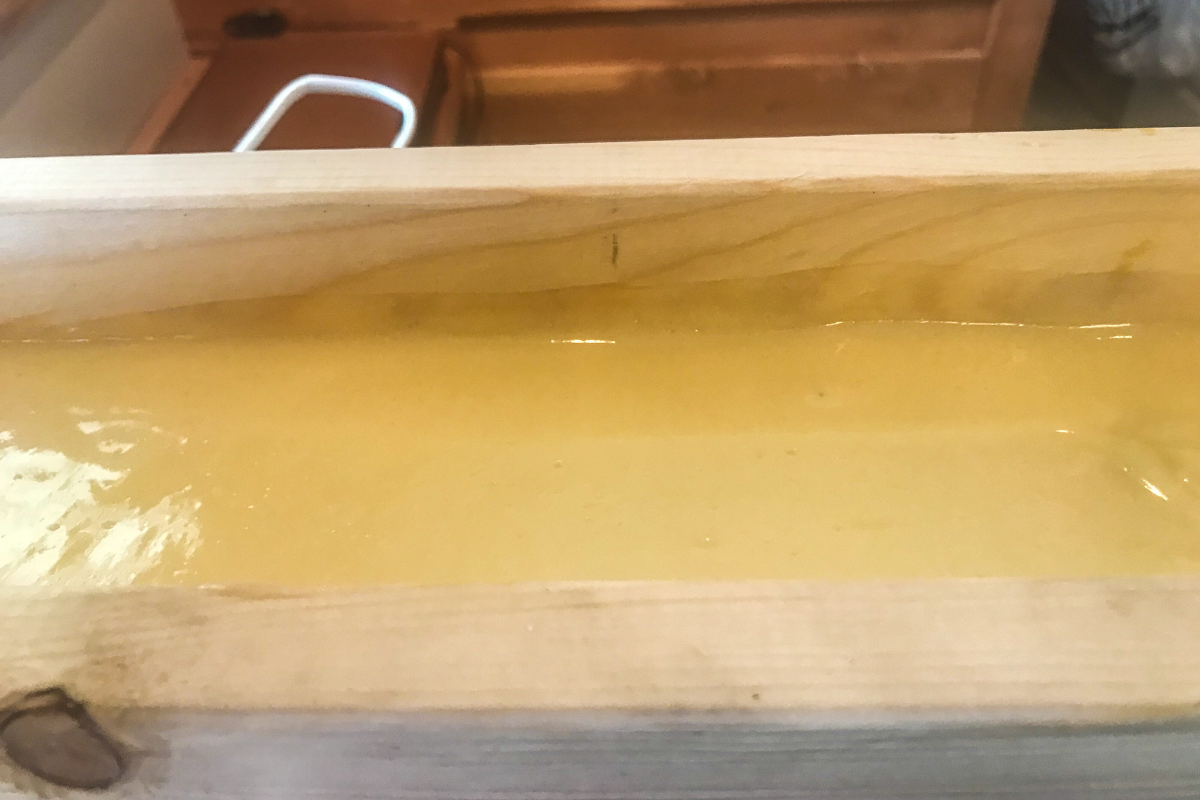
Wooden Soap Mold
Step Eight
You’re all done! Place your soaps in a cool dry place undisturbed and let the soap cure for about a month. After a month they are ready to use.
Why I Started Making MNy Own Soap
Since I began making my own soap I stopped having skin problems, I had issues with dry and very itchy skin, to a point that I would scratch and bleed particularly at night.
I know now that the soap bars that we typically buy at the store are made up of many different types of chemicals and perfumes. I was allergic to these chemicals that caused me to be very uncomfortable all the time.
These handmade soaps are rich and very emollient while sudsing and cleaning. This is why I make my own soap and will never go back to store bought soaps.
Try it! It’s easy to make, with some simple precautions!
XOXO
Connie
Pin it For Later!
Sign up to be a part of my community, to receive monthly updates on the latest in my blog. You will also receive VIP access to my FREE Library, receiving tons of freebies, all in one place.

Leave a Reply